
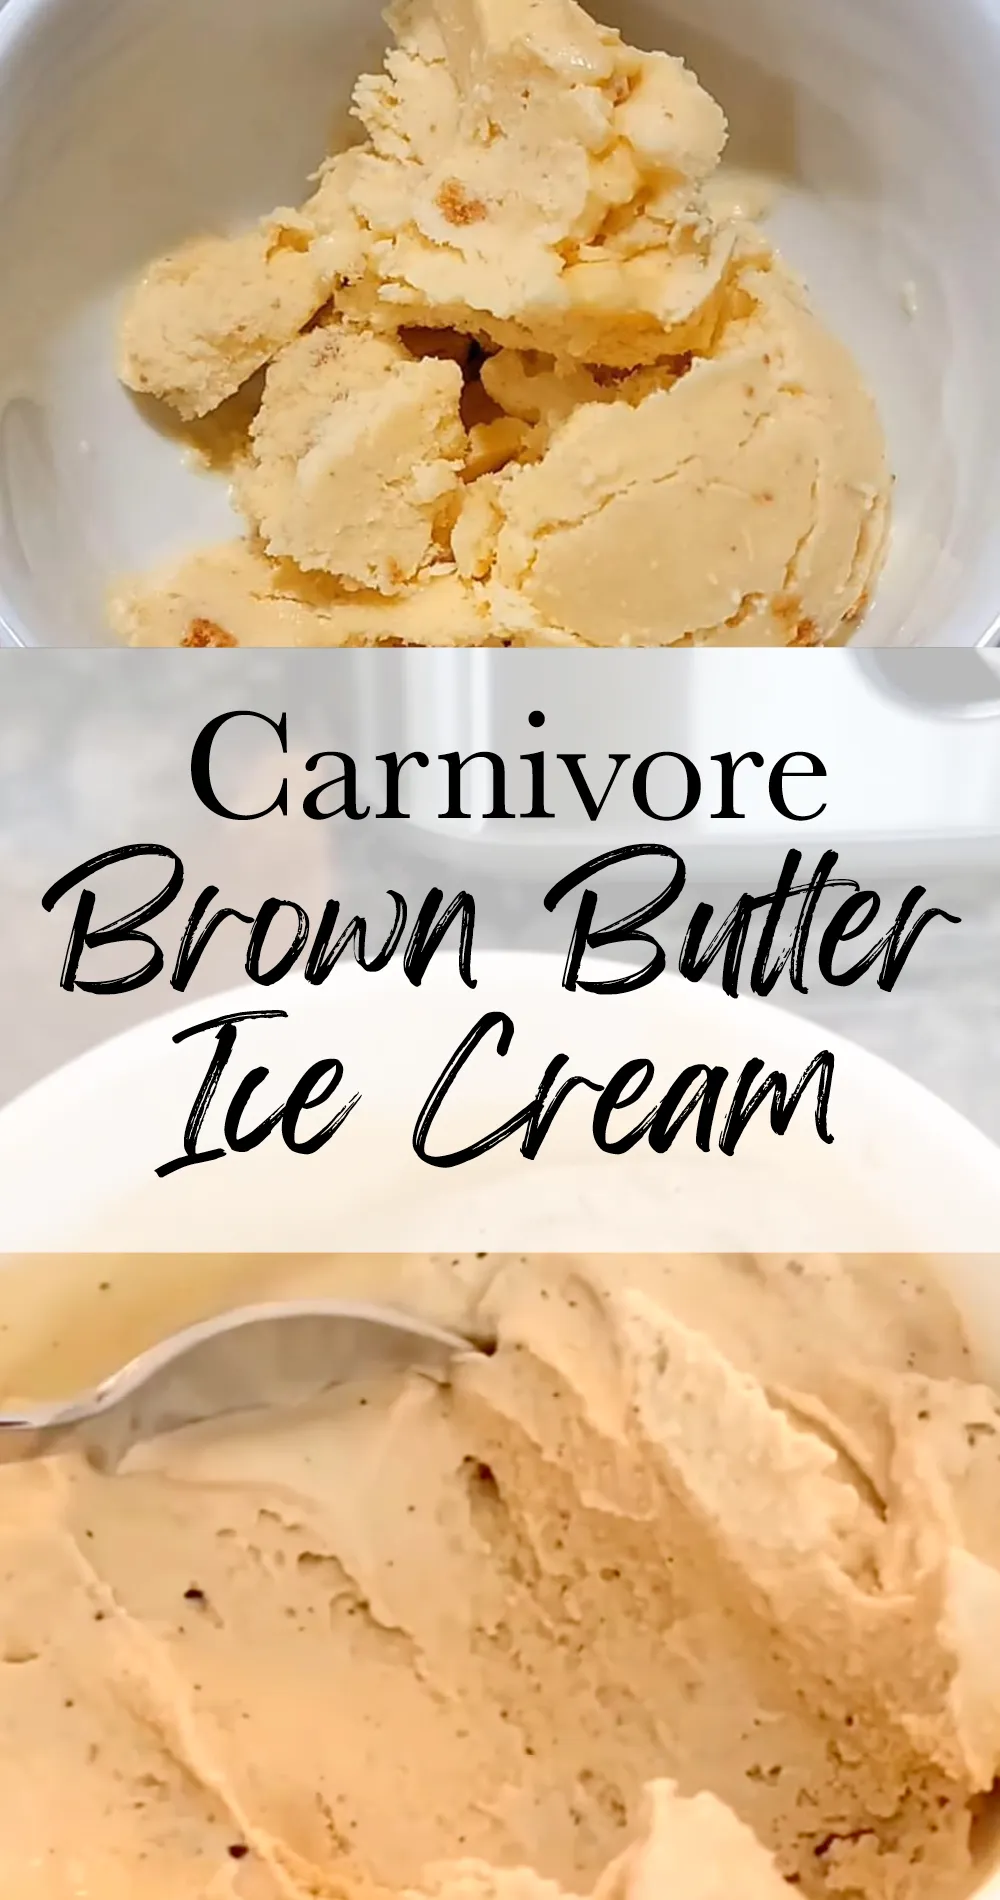
Carnivore Brown Butter Ice Cream: A Decadent Treat That Won’t Derail Your Diet 🍦
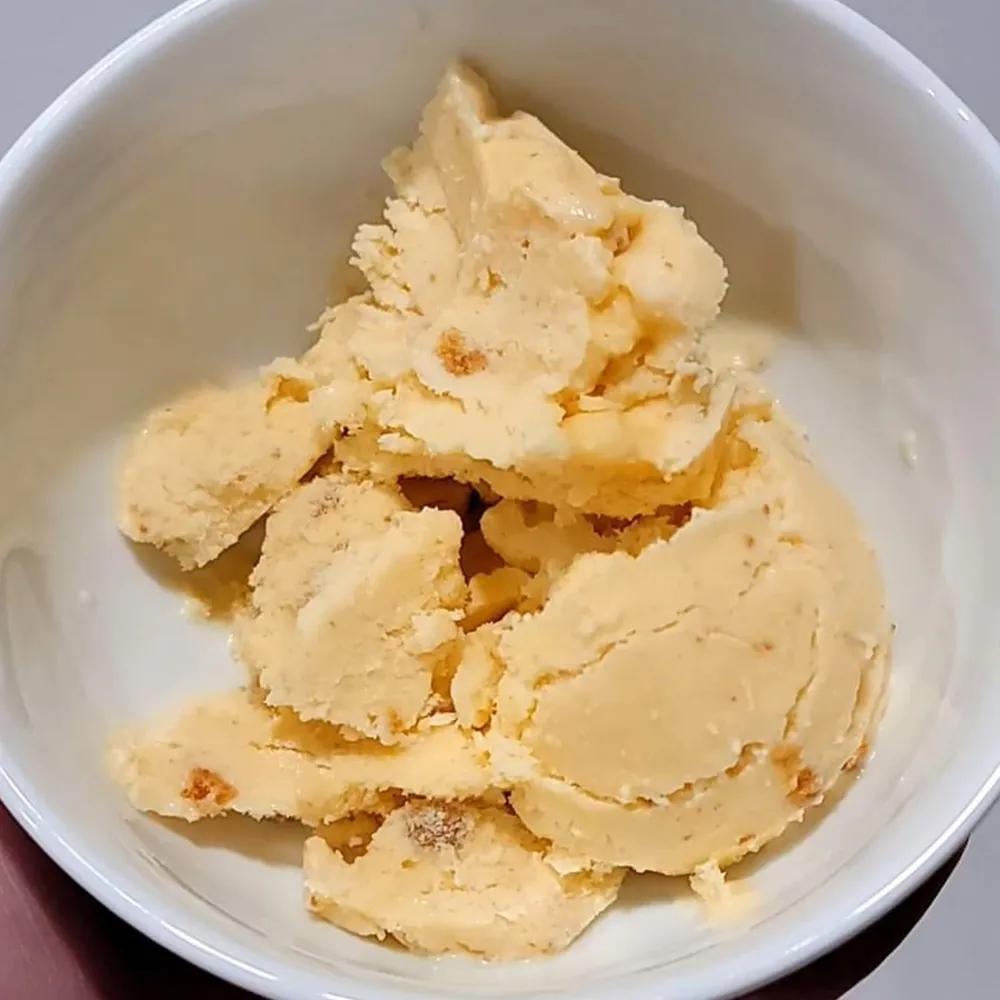
Ever wondered if you could enjoy real, creamy ice cream while sticking to a carnivore lifestyle? Well, wonder no more! This Carnivore Brown Butter Ice Cream is about to become your new obsession. The nutty depth of brown butter transforms this simple frozen treat into something extraordinary that’ll make you forget all about those sugar-laden store-bought versions. Carnivore-friendly desserts don’t have to be boring or leave you feeling deprived—they can be luxurious and satisfying while still supporting your health goals.
This brown butter ice cream recipe is proof that animal-based eating can include incredibly delicious treats. And trust me, after 30+ years in the health and fitness industry, I’ve seen countless diet trends come and go… but the simple joy of homemade ice cream? That’s timeless. 🥄
#carnivorediet #browbutterobsessed #sugarfreeicecream #animalbaseddessert #homemadeicecream #ketoicecream #carnivorelifestyle #zerocarbtreats #dairylovers #guiltfreedessert
This recipe is suitable for carnivore, keto, low-carb, and animal-based eating plans and makes a perfect dessert or treat.
- 1. Quick Stats
- 2. Ice Cream Making Essentials 🧊
- 3. Decadent Ingredients 🥄
- 4. Let's Make Some Magic: Step-By-Step Instructions 🔮
- 5. Batch Cooking Tips
- 6. Serving & Presentation 🍽️
- 7. How to Store Your Frozen Masterpiece 🧊
- 8. Why This Recipe Works: The Science & Benefits 🔬
- 9. Common Mistakes to Avoid ❌
- 10. Flavor Variations & Substitutions 🔄
- 11. Frequently Asked Questions ❓
- 12. Final Thoughts on This Creamy Creation 💭
- 13. Next Recipes To Try
Quick Stats
- Prep Time: 20 minutes
- Cook Time: 15 minutes
- Chilling Time: 8 hours (overnight)
- Churning Time: 25-30 minutes
- Total Time: 9 hours (including chilling)
- Servings: 8
- Calories: 350 per serving
- Macros: Fat: 37g | Protein: 5g | Carbs: 1g
- Difficulty: Moderate
Ice Cream Making Essentials 🧊
- Ice cream maker (I use a mid-range Cuisinart that strikes the perfect balance between price and performance)
- Medium saucepan (preferably heavy-bottomed to prevent scorching)
- Whisk
- Mixing bowls (at least one large one)
- Fine mesh strainer
- Measuring cups and spoons
- Rubber spatula
- Airtight container for storage
Don’t have an ice cream maker? No worries! You can use the “shallow dish method”—pour your chilled mixture into a shallow metal pan and stir vigorously every 30 minutes until frozen. It’s a bit more labor-intensive but gets the job done in a pinch.
Decadent Ingredients 🥄
Dairy & Fats
- 114g/4oz browned butter, softened to room temperature (I recommend Spring Rock Farms Sunrise brown butter ghee if you don’t want to make your own)
- 714g/2¾ cups heavy whipping cream (the highest quality you can find)
Proteins
- 8 large egg yolks (the fresher, the better—ideally from pasture-raised hens)
Flavorings
- 3g/3 tsp instant coffee dry mix, unprepared (decaf works perfectly—omit for
vanilla version) - 1g/1 tsp salt (preferably sea salt)
- 2g/½ tsp
vanilla extract (double this if makingvanilla version)
Let’s Make Some Magic: Step-By-Step Instructions 🔮
1. Prep the Foundation
- Brown your butter (if not using pre-browned butter): In a light-colored saucepan, melt butter over medium heat. Continue cooking, stirring frequently, until the butter foams, then turns golden, and finally develops brown specks and a nutty aroma (about 5-7 minutes). Remove from heat immediately to prevent burning. Transfer to a bowl and let cool completely to room temperature.
- Prepare your workspace: Have all ingredients measured and ready to go. Trust me… ice cream making becomes much less stressful when you’re not frantically measuring ingredients with one hand while whisking with the other!
2. Create Your Custard Base
- Combine fats: In a large mixing bowl, add your room temperature browned butter and egg yolks. Whisk vigorously until well combined and slightly lighter in color. This creates the rich base for your ice cream—don’t skimp on the whisking!
- Heat the cream: In a heavy-bottomed saucepan, combine heavy cream, instant coffee (skip if making
vanilla ), and salt. Heat over low flame, stirring constantly to prevent scorching. You’re looking for a gentle simmer with tiny bubbles forming around the edges—not a rolling boil! This should take about 5-7 minutes. - Master the temper: This step is crucial—get it wrong and you’ll end up with scrambled egg ice cream. Not appetizing! Slowly pour about ½ cup of the hot cream mixture into the egg-butter mixture while whisking continuously. This “tempers” the eggs, gradually increasing their temperature without cooking them.
- Complete the custard: Once you’ve added about ¼ of the hot cream and the eggs are tempered, slowly pour the egg mixture back into the saucepan with the remaining cream, whisking constantly to incorporate.
- Cook to perfection: Return the saucepan to low-medium heat. Cook the mixture, stirring constantly with a wooden spoon or heat-resistant spatula, until it thickens enough to coat the back of a spoon—about 10-15 minutes. The perfect test: run your finger through the coating on the spoon. If it leaves a clear path that doesn’t immediately fill in, you’re good to go!
- Add final flavoring: Remove from heat and whisk in the
vanilla extract. If you’re makingvanilla ice cream, remember to add the full teaspoon for more pronounced flavor. - Strain for silkiness: Pour the custard through a fine-mesh strainer into a clean bowl. This removes any accidentally cooked egg bits or other solids that might affect your ice cream’s texture.
3. Chill & Churn
- Patience is key: Cover the bowl with plastic wrap, pressing it directly onto the surface of the custard to prevent a skin from forming. Refrigerate overnight or for at least 8 hours. Seriously, don’t rush this step—properly chilled custard makes for properly textured ice cream!
- Churn baby, churn: Once completely chilled, pour the mixture into your ice cream maker and churn according to the manufacturer’s instructions. In most machines, this takes 20-30 minutes. You’re looking for a soft-serve consistency.
- Freeze to perfection: Transfer the churned ice cream to an airtight container. For optimal texture, place parchment paper directly on the surface before sealing. Freeze for at least 4 hours to firm up completely.
Batch Cooking Tips
Want to meal prep this delicious treat? Here’s how:
- Double the recipe but churn in separate batches to ensure proper freezing
- Make multiple flavors in one go by dividing the base before adding flavorings
- Pre-portion into silicone muffin cups for perfect single-serving treats
Serving & Presentation 🍽️
Plating Suggestions
This isn’t just any ice cream—it deserves special treatment! Serve in chilled bowls to prevent premature melting. For an extra-special presentation, use a hot ice cream scoop (dipped in warm water) for perfectly round scoops that would make an Instagram food photographer weep with joy.
The rich brown butter flavor pairs beautifully with:
- A sprinkle of sea salt flakes on top
- A drizzle of Carnivore Caramel Sauce
- Sandwiched between two Carnivore Cookies for an epic ice cream sandwich
Complementary Recipes
Take your dessert game to the next level by serving this alongside:
- Carnivore Brownies for an indulgent à la mode experience
- Carnivore Coffee for an after-dinner affogato
- Carnivore Cheesecake for the ultimate dessert platter
Occasion Recommendations
This luxurious dessert is perfect for:
- Special celebrations when you want to impress guests without compromising your diet
- Hot summer days when you need something refreshing yet satisfying
- “I survived Monday” rewards… because sometimes just making it through the day deserves a treat!
How to Store Your Frozen Masterpiece 🧊
Ice cream storage is serious business—nothing worse than freezer-burned or rock-hard ice cream, am I right?
Container Recommendations
Store your ice cream in a shallow, wide container rather than a deep one for more even freezing. Glass containers with tight-fitting lids work beautifully, but specialized ice cream containers with insulated walls are even better if you’re a serious ice cream aficionado.
Texture Preservation
To prevent ice crystals (the nemesis of creamy ice cream):
- Place parchment paper directly on the surface before sealing
- Store in the back of the freezer where temperature is most stable
- Keep your freezer temperature between -5°F and 0°F for optimal texture
Serving From Frozen
Let the ice cream sit at room temperature for 5-10 minutes before serving for the perfect scoopable consistency. If you’re impatient (like me), run your ice cream scoop under hot water before scooping.
Why This Recipe Works: The Science & Benefits 🔬
The Brown Butter Magic
Brown butter isn’t just a fancy ingredient—it’s a flavor revolution. The process of browning butter creates compounds called lactones and furanones that give it that distinctive nutty, caramelized flavor. These compounds bind to fat molecules, which means they deliver flavor more effectively in a high-fat ice cream base. Science is delicious, isn’t it?
Nutritional Powerhouse
This isn’t just any dessert—it’s practically a nutritional supplement! OK, slight exaggeration, but consider this:
- Egg yolks: Rich in choline for brain health, lutein for eye health, and essential fat-soluble vitamins
- Heavy cream: Provides conjugated linoleic acid (CLA) which may help with fat loss
- Brown butter: Contains butyrate, a short-chain fatty acid that supports gut health
Carnivore Diet Benefits
Following a carnivore approach has shown remarkable benefits for many people dealing with autoimmune conditions, digestive issues, and inflammatory disorders. This recipe allows you to enjoy a sweet treat while still adhering to the animal-based principles that might be helping your health.
Notable Perks
- Zero added sugar: Unlike commercial ice creams with 20+ grams of sugar per serving
- High in satiating fats: You’ll be satisfied with a smaller portion
- No artificial ingredients: Just simple, whole-food ingredients your body recognizes
- Gut-friendly: No plant compounds that might trigger sensitivities
Common Mistakes to Avoid ❌
Don’t let these rookie errors ruin your ice cream experience:
Temperature Troubles
Mistake: Rushing the heating/cooling process
Solution: Patience! Heat the cream mixture slowly to prevent scorching and allow the custard to chill completely before churning. Rushing either step results in grainy texture or poor freezing.
Egg Anxiety
Mistake: Adding hot cream too quickly to egg yolks
Solution: Tempering is an art—add hot cream in a slow, thin stream while whisking vigorously. Too fast and you’ll have scrambled eggs; too slow and your cream might cool too much.
Churning Challenges
Mistake: Overfilling the ice cream maker
Solution: Fill your machine no more than ⅔ full. The mixture expands as it freezes and incorporates air. Overfilling prevents proper aeration and leads to dense, hard ice cream. 🍦
Storage Snafus
Mistake: Exposing to temperature fluctuations
Solution: Store in the back of the freezer and return the container immediately after scooping. Every time the ice cream partially melts and refreezes, ice crystals form and ruin that silky texture.
Flavor Variations & Substitutions 🔄
Not a coffee fan? No problem! This versatile base recipe can be customized in countless ways:
Vanilla Variation
Omit the coffee and double the
Chocolate Transformation
Add 2 tablespoons of high-quality cocoa powder to the cream while heating for a chocolate version. Make sure it’s fully dissolved before proceeding.
Budget Options
- Use regular unsalted butter instead of ghee—just brown it yourself
- Farm-fresh eggs are best, but any egg yolks will work
- If heavy cream is pricey, you can substitute with a mixture of half-and-half and butter (¾ cup half-and-half + 2 tbsp melted butter = 1 cup heavy cream)
Dietary Adjustments
- Higher protein: Add 2 tablespoons of unflavored grass-fed collagen powder to the mixture
- Extra richness: Increase egg yolks to 10 for an even more luxurious texture
- Less dairy-forward: Use cultured cream for a tangier flavor profile that masks some of the dairy notes
This website may contain affiliate links, which means that if you click on one of the product links, the website may receive a small commission at no extra charge to you!
Frequently Asked Questions ❓
Q: Can I make this without an ice cream maker?
A: Yes! Pour the chilled custard into a shallow metal pan and place in the freezer. Stir vigorously with a fork every 30 minutes until frozen (about 3-4 hours). The texture won’t be quite as smooth, but it’ll still be delicious.
Q: Why did my ice cream turn out grainy?
A: This usually happens when the custard wasn’t cooked long enough (causing fat separation) or was frozen too quickly. Make sure your custard coats the back of a spoon before chilling, and that your ice cream maker bowl is properly frozen.
Q: How long will this ice cream keep?
A: Stored properly in an airtight container with parchment paper pressed on the surface, it will maintain optimal quality for about 2 weeks. It’s technically safe longer but will develop ice crystals.
Q: Can I use an alternative sweetener if I’m not strictly carnivore?
A: Absolutely. For those following a more flexible keto approach, adding 2-3 tablespoons of allulose or monk fruit sweetener will enhance the sweetness without impacting carb count significantly.
Q: Is the coffee flavor strong?
A: The coffee adds subtle depth rather than overpowering flavor. If you want a stronger coffee taste, increase to 4-5 teaspoons of instant coffee.
Final Thoughts on This Creamy Creation 💭
After decades in the health and fitness world, I’ve learned that sustainability is the key to any successful dietary approach. And sustainability means having treats you genuinely enjoy that don’t leave you feeling deprived or trigger old unhealthy patterns.
This Carnivore Brown Butter Ice Cream perfectly embodies that philosophy—it’s indulgent enough to satisfy real cravings but clean enough to support your health goals. The brown butter element transforms what could be a basic ice cream into something truly special, with layers of flavor complexity you’d never expect from such simple ingredients.
Whether you’re strictly carnivore, keto, or just looking to reduce sugar and processed foods in your diet, this recipe deserves a place in your freezer. The joy of creating something this delicious from scratch? Well, that’s just the cherry on top… though we don’t do cherries around here, do we? 😉 🍦
Next Recipes To Try
Ready for more carnivore-friendly delights? These recipes pair beautifully with your brown butter ice cream or stand magnificent on their own:
- Carnivore Ice Cream Sandwich – Use your fresh brown butter ice cream for an epic upgrade!
- Carnivore Fudge – Another rich treat perfect for satisfying sweet cravings
- Carnivore Coffee Ice Cream – If you want an even more pronounced coffee flavor
- Carnivore Custard – A perfect pairing for a dessert duo that will impress any guest
carnivore brown butter ice cream
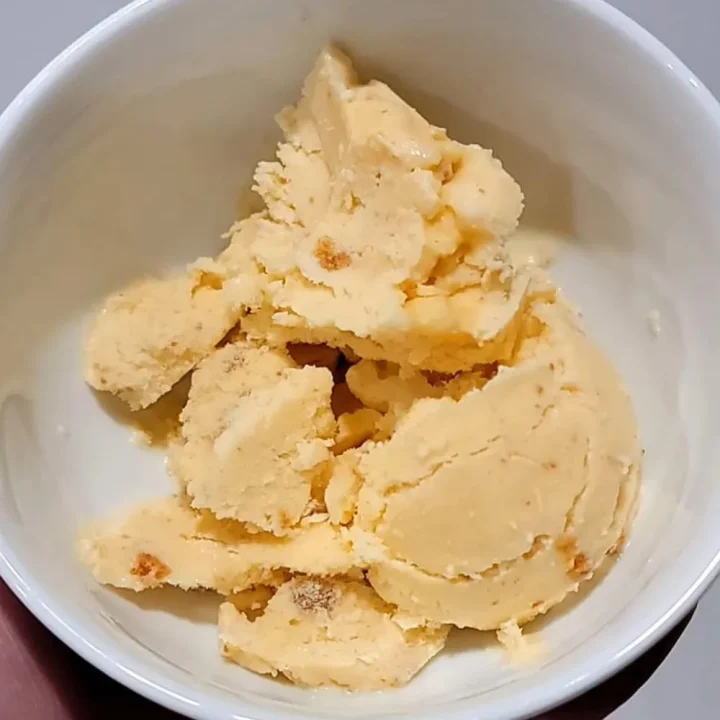
A rich, decadent carnivore-friendly ice cream featuring the nutty depth of brown butter. This zero-carb dessert satisfies sweet cravings without compromising your animal-based diet.
Ingredients
- 114g/4oz browned butter, softened to room temperature
- 8 large egg yolks
- 714g/2¾ cups heavy whipping cream
- 3g/3 tsp instant coffee dry mix, unprepared
- 1g/1 tsp salt
- 2g/½ tsp vanilla extract
Instructions
- Prepare Brown Butter: If not using pre-browned butter, brown your butter the night before and let cool to room temperature.
- Combine Fats: In a large mixing bowl, whisk together room temperature brown butter and egg yolks until well combined.
- Heat Cream: In a heavy-bottomed saucepan, combine heavy cream, coffee (if using), and salt. Heat until just simmering, stirring frequently.
- Temper Eggs: Slowly add a small amount of hot cream to the egg mixture while whisking constantly.
- Complete Custard: Gradually pour the tempered egg mixture back into the saucepan with the remaining cream, whisking constantly.
- Cook Mixture: Heat on low to medium-low, stirring constantly until thickened and coats the back of a spoon (10-15 minutes).
- Add Vanilla: Remove from heat and whisk in vanilla extract.
- Strain: Pour through a mesh strainer into a clean bowl to remove any solids.
- Chill: Cover and refrigerate overnight.
- Churn: Pour chilled mixture into ice cream maker and churn according to manufacturer's instructions.
- Freeze: Transfer to airtight container and freeze until firm, at least 4 hours.
Notes
For vanilla ice cream, omit the coffee and double the vanilla extract. The brown butter adds a rich, nutty flavor that elevates this simple dessert to gourmet status.
Nutrition Information
Yield 8 Serving Size 1/2 cupAmount Per Serving Calories 350Total Fat 37gSaturated Fat 22gTrans Fat 0gUnsaturated Fat 15gCholesterol 210mgSodium 350mgCarbohydrates 1gNet Carbohydrates 1gFiber 0gSugar 1gProtein 5g