
Carnivore Chuck Roast: The 3-Ingredient Miracle That Tastes Like a Million Bucks
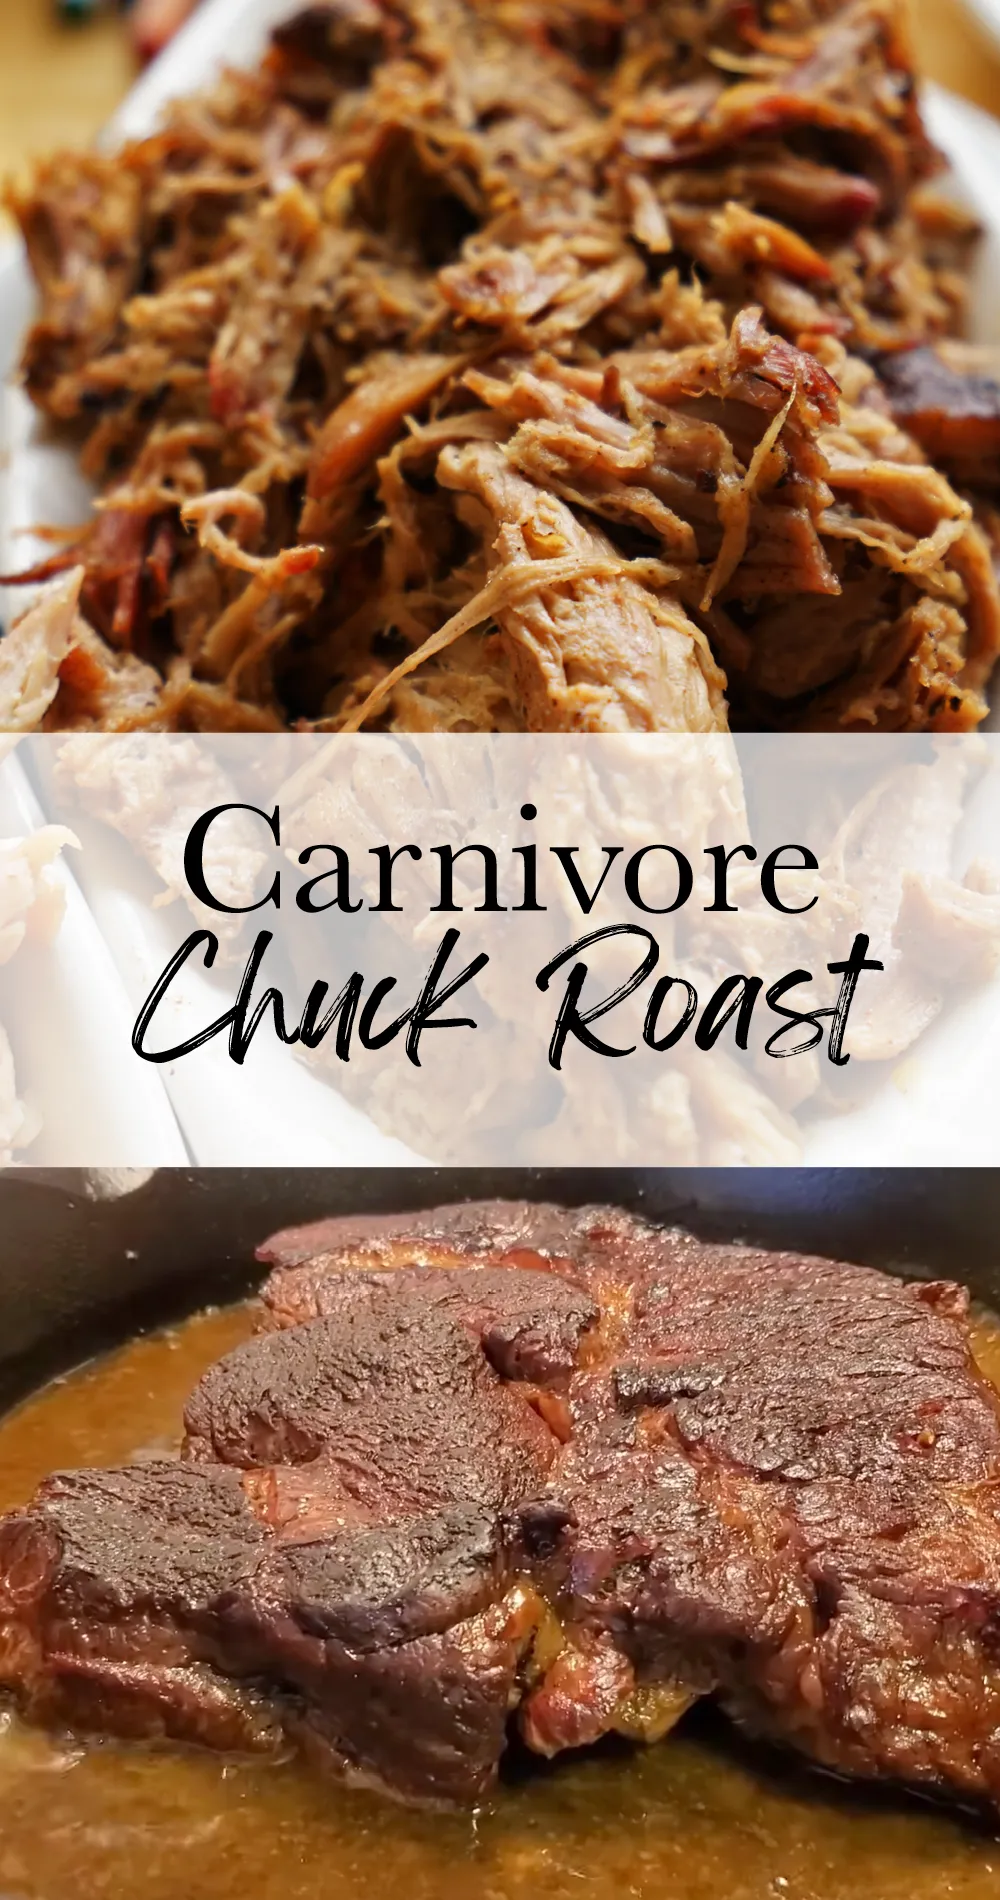
Ever stared at a cheap chuck roast wondering how to transform it into something spectacular? You’re not alone! I’ve been there too, puzzling over how to make this budget cut taste like something special. Well, get ready for a game-changer. This carnivore chuck roast recipe has become my household’s MVP dinner – the one meal I’ll willingly heat up my kitchen for even during scorching summer months. With just three simple ingredients and a trusty cast iron pan, you’ll create a dish so rich and flavorful your taste buds won’t believe it’s carnivore-friendly. And the best part? It costs a fraction of what you’d pay for a fancy steakhouse dinner.
- 1. Quick Stats
- 2. The Magic Starts with the Right Tools
- 3. The Simplest Ingredient List Ever
- 4. Why Chuck Roast Deserves Your Attention
- 5. Let's Get Cooking: The Method That Changes Everything
- 6. Batch Cooking for Future You
- 7. Serving Suggestions That'll Impress
- 8. How to Store This Beefy Masterpiece
- 9. Why This Recipe Crushes It
- 10. Rookie Mistakes to Sidestep
- 11. Make It Your Own: Variations
- 12. Your Burning Questions Answered
- 13. The Bottom Line
- 14. Next Recipes To Try
Quick Stats
- Prep time: 15 minutes
- Cook time: 3 hours
- Total time: 3 hours 15 minutes
- Servings: 4-6
- Calories: Approximately 350 per serving
- Protein: 35g per serving
- Fat: 20g per serving
- Carbs: 0g
- Difficulty: Easy
The Magic Starts with the Right Tools
Let’s talk about what you’ll need to make this miracle happen. The star of the show isn’t just the chuck roast – it’s the cooking vessel itself.
Equipment Needed:
- 14-inch cast iron pan (10-inch works for smaller roasts or reheating)
- Aluminum foil or pizza pan for covering
- Tongs for turning the roast
- Fork for testing doneness
- Oven
- Range hood/vent (trust me, you’ll want this on!)
Cast iron pans aren’t just cookware – they’re heirlooms. My wife actually gifted me a trio of cast iron pans about five years ago for Father’s Day, and let me tell you, they’ve revolutionized our cooking. If you’re thinking, “But I have a glass stovetop!” – don’t worry. I thought the same thing, but with some careful handling (no dropping!), they work beautifully.
The Simplest Ingredient List Ever
I love recipes with short ingredient lists, and this one takes the crown. Just THREE ingredients stand between you and chuck roast nirvana. How’s that for keeping things simple?
Main Ingredients:
- 3-4 pound chuck roast
- 3 cups of water
- Generous amount of salt (about 1-2 tablespoons)
For Seasoning the Pan:
- Bacon grease (for seasoning the cast iron)
That’s it! No fancy spice blends, no hard-to-find ingredients – just the basics. But trust me, the end result is anything but basic. 🥩
Why Chuck Roast Deserves Your Attention
Before we dive into the cooking method, can we take a moment to appreciate chuck roast? This underrated cut comes from the shoulder area of the cow and is packed with rich, beefy flavor. Thanks to its marbling and connective tissue, it becomes incredibly tender when cooked low and slow.
The best part? Chuck roast is budget-friendly! You’re getting maximum flavor for minimal cash output. In these days of sky-high meat prices, that’s something to celebrate.
Let’s Get Cooking: The Method That Changes Everything
I’ve made chuck roast in the crockpot. I’ve made it in the Instant Pot. Both were… fine. But then I discovered this cast iron method, and holy cow – total game-changer. What makes this technique different is the initial sear combined with the semi-open cooking environment. You get the best of both worlds: the caramelization from searing and the tenderness from slow cooking.
1. The Perfect Preheat
Preheat your oven to 350°F and start heating your cast iron pan SLOWLY. This is key – start with low heat and gradually increase to high over several minutes. Your pan needs to be screaming hot for the perfect sear, but slow heating prevents warping and ensures even heat distribution.
2. Prep Your Protein
While the pan is heating, liberally salt all sides of your chuck roast. Don’t be shy here – that salt is doing important work, both flavoring the meat and helping create that beautiful crust.
3. The Magnificent Sear
Once your pan is properly hot (you’ll literally hear it), place that beautiful hunk of beef in the pan. The sizzle should be immediate and aggressive – if not, your pan isn’t hot enough.
Sear each side for about 2 minutes until you get a gorgeous crust. Don’t forget the edges! Use your tongs to hold the roast upright to sear the sides too. This step is where the magic happens – we’re creating the Maillard reaction, which equals FLAVOR.
4. The Cool Down (Briefly)
Turn off the heat and remove the pan from the burner. Let it cool for about 2 minutes. This step is crucial for safety – if you add water to a screaming hot pan, you’ll get a steam explosion. Not fun, trust me on this one.
5. Creating the Au Jus
Carefully add 3 cups of water to the pan. It will still bubble and steam, but not dangerously so if you’ve allowed that cooling period. This water is going to become liquid gold as it mingles with the beef drippings and rendered fat.
6. The Not-Quite-Cover
Cover the pan loosely with aluminum foil or a pizza pan. The key word here is “loosely” – we’re not creating a tight seal. This allows some steam to escape instead of fully steaming the meat, which would give us a different texture and flavor profile.
7. The Patience Game
Place in the 350°F oven for approximately 3 hours. I know, I know – three hours seems like forever when you’re hungry. But good things come to those who wait!
Check after 2 hours by testing if the meat is fork-tender. The fork should slide in with little resistance, like it’s cutting through butter. If not, continue cooking and check every 30 minutes.
8. The Rest and Reward
Once done, remove from the oven and let it rest for about 10 minutes before serving. This resting period allows the juices to redistribute throughout the meat instead of running all over your plate when you cut into it.
And here’s my biggest tip: Save the au jus! That stuff is liquid gold for dipping and flavoring other meals. I store it separately and use it for days afterward.
Batch Cooking for Future You
This recipe is perfect for batch cooking, which makes life so much easier when you’re following a carnivore or low-carb diet. Here’s how to maximize this recipe:
- Make double the recipe if you have a large enough cast iron pan
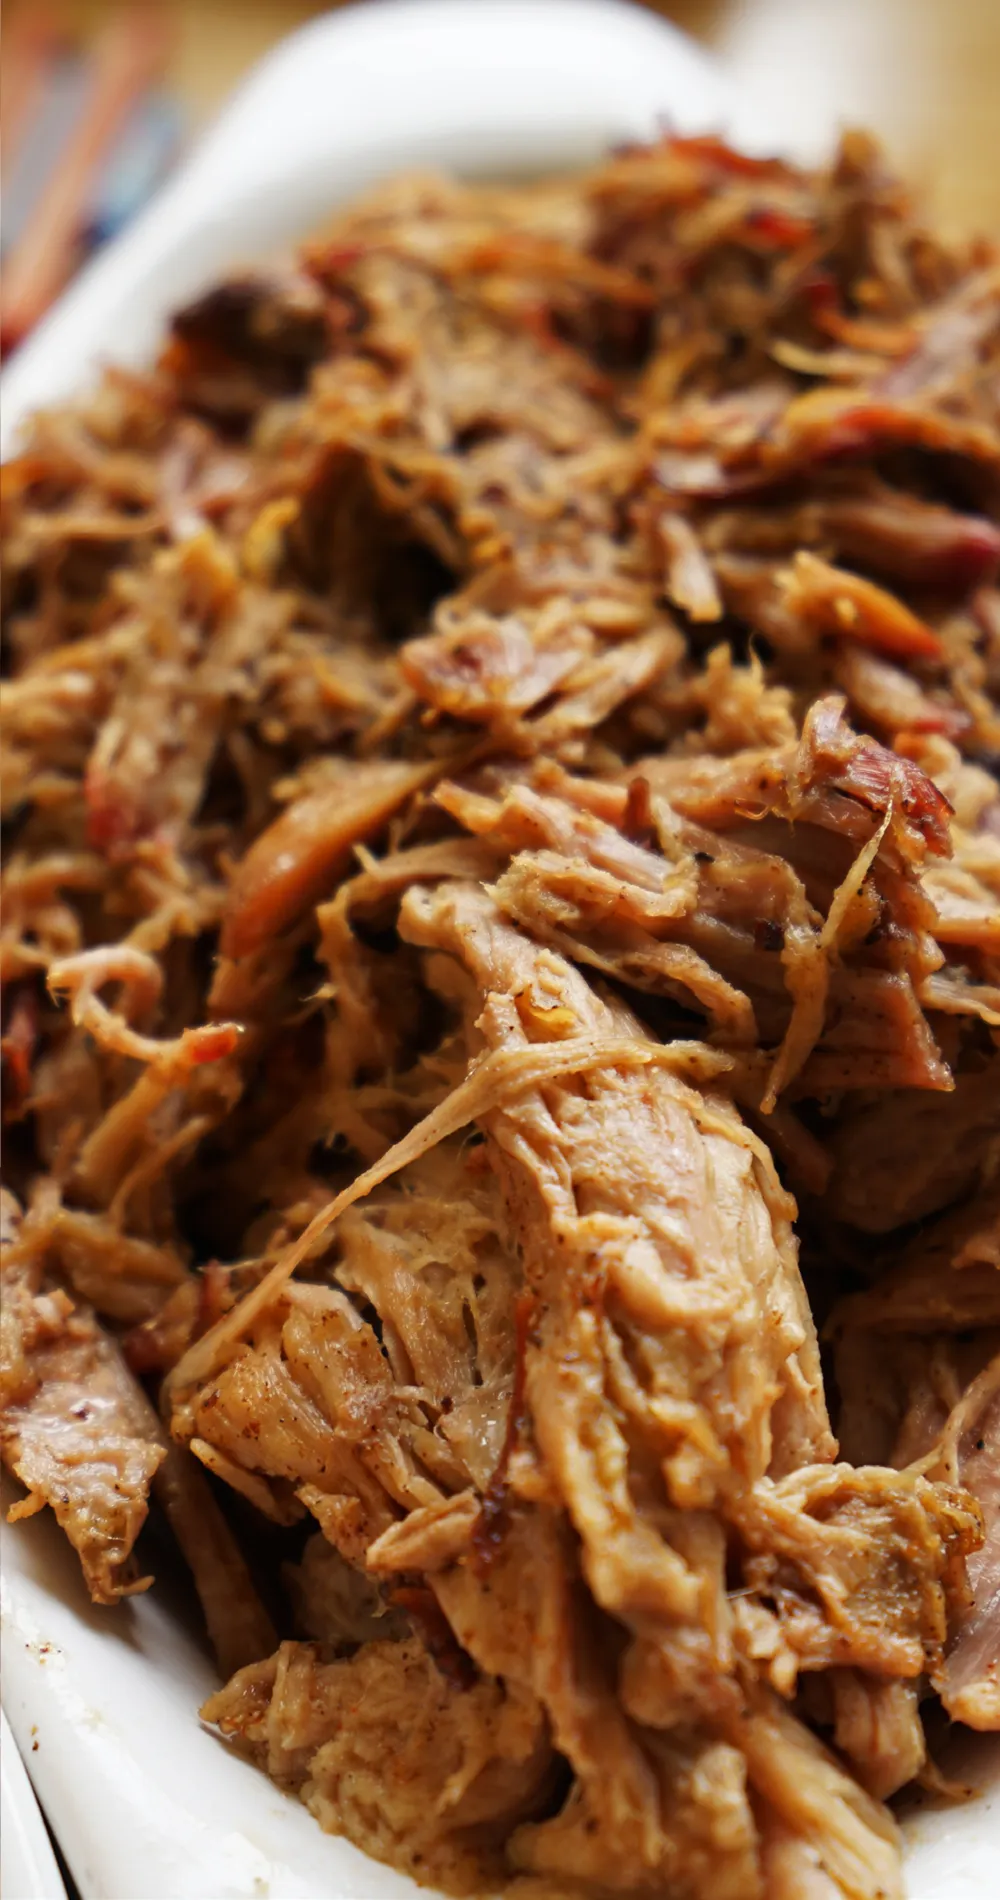
- The leftovers taste even better as the flavors develop overnight
- The au jus can be saved separately and used to flavor ground beef or as a dipping sauce for steaks
- Pre-slice portions for quick reheating during busy weeknights
Serving Suggestions That’ll Impress
While this chuck roast is divine on its own, here are some ways to elevate your presentation:
- Serve with the au jus on the side for dipping
- Pairs perfectly with Carnivore Mashed Potatoes
- For a complete meal, consider adding Carnivore Gravy
- Want some green with your meal but staying carnivore? Add a side of Carnivore Deviled Eggs for color contrast
This roast makes an impressive centerpiece for a family dinner or gathering. I’ve served it to non-carnivore friends who had no idea they were eating a “diet” meal – they just thought it was delicious.
How to Store This Beefy Masterpiece
One of the best things about this recipe is how well it keeps. Here’s how to store your masterpiece:
- Refrigerate leftovers in an airtight container for up to 4 days
- Store the au jus separately in a jar for easier reheating and to use as a flavor booster for other meals
- To reheat, use a 10-inch cast iron pan, add a quarter cup of water to thin the au jus, and heat until warm
- For freezing, slice the roast first, then freeze in portion-sized containers for up to 3 months
Pro tip: When reheating, the added water helps prevent the meat from drying out while also stretching that precious au jus further.
Why This Recipe Crushes It
This isn’t just another chuck roast recipe. Here’s why this method delivers spectacular results:
- Zero-carb perfection: Ideal for strict carnivore and ketogenic diets
- Protein powerhouse: Each serving packs a serious protein punch, helping with muscle maintenance and keeping you full
- Nutrient density: Rich in zinc, iron, and B vitamins from the beef
- Texture transformation: The slow cooking method breaks down tough connective tissues, making the meat tender without turning to mush
- Flavor development: The cast iron pan adds depth of flavor impossible to achieve in a crockpot or instant pot
- Simplicity: Three ingredients mean you can stay on track with your diet goals without complexity or weird additives
When I’m following a strict carnivore protocol, this recipe keeps me sane. It’s proof that limitation breeds creativity – and deliciousness!
Rookie Mistakes to Sidestep
Even the simplest recipes have pitfalls. Here’s how to avoid them:
- Not heating the cast iron pan enough before searing: You want it screaming hot! A proper sear is everything.
- Adding water before letting the pan cool slightly: This can cause dangerous splattering and potential burns. Those extra two minutes of cooling time are worth it.
- Fully sealing the pan: This steams rather than braises the meat, giving you a different texture and flavor profile.
- Discarding that magical au jus: This stuff is liquid gold! Save it, savor it, use it on everything.
- Cutting the meat immediately: Give it time to rest and reabsorb its juices, or you’ll lose all that flavor on your cutting board.
Make It Your Own: Variations
While I love this recipe in its purest form, here are some ways to customize it:
- Beef broth instead of water for even more flavor (though not strictly carnivore)
- Brisket or rump roast can substitute for chuck in a pinch
- Add a tablespoon of butter to the au jus for extra richness
- For those on less strict diets, a few crushed garlic cloves can add dimension
- Bone broth works wonderfully as a substitute for water
For strict carnivore, stick to the original recipe. But if you’re more flexible, these variations can keep the meal exciting.
This website may contain affiliate links, which means that if you click on one of the product links, the website may receive a small commission at no extra charge to you!
Your Burning Questions Answered
Let’s address some common questions about this recipe:
Q: Can I make this in a slow cooker instead?
A: Yes, but you won’t get the same depth of flavor. If using a slow cooker, still sear the meat in cast iron first, then transfer to the slow cooker.
Q: Is this recipe suitable for the BBBE challenge?
A: Absolutely! It uses only beef and salt, making it perfect for the Beef, Butter, Bacon, and Eggs challenge.
Q: What if I don’t have a cast iron pan?
A: A heavy-bottomed, oven-safe pan will work, but cast iron really does make everything better. It’s a worthwhile investment!
Q: Can I add herbs or spices?
A: For strict carnivore, stick to salt only. If you’re more flexible, rosemary and thyme work wonderfully with beef.
Q: How do I know when it’s done?
A: The meat should be fork-tender, meaning a fork easily slides in and out. The meat will also likely have shrunk slightly.
Q: Will this work with a frozen roast?
A: I strongly recommend thawing completely first. A frozen roast won’t sear properly, which is crucial for this recipe’s success.
The Bottom Line
This carnivore chuck roast recipe proves that sometimes the simplest meals are the most satisfying. With just three ingredients and a bit of patience, you’ll create a dish that rivals steakhouse offerings at a fraction of the cost.
The magic lies in the searing process and the slow cook time, transforming an inexpensive cut into something truly spectacular. Whether you’re following a carnivore diet for weight loss like my family or simply enjoy good, uncomplicated food, this recipe deserves a spot in your regular rotation.
And remember – save that au jus! Your future self will thank you when you’re dipping a steak or burger into that liquid gold.
Next Recipes To Try
If you enjoyed this recipe, here are some other carnivore-friendly dishes you might love:
- Carnivore Pot Roast – A different approach to tender beef
- Carnivore Beef Stew – Perfect for cold weather comfort
- Carnivore Beef Stroganoff – A creamy twist on beef
- Carnivore Shepherds Pie – Comfort food made carnivore-friendly

carnivore chuck roast
Seared & oven-baked chuck roast, fork-tender and flavorful. Simple & satisfying carnivore delight with rich au jus! 4-6 servings.
Ingredients
- 3-4 pound chuck roast
- 3 cups of water
- Salt (1-2 tablespoons)
- Bacon grease (for seasoning pan)
Instructions
- Preheat: Set your oven to 350°F. Heat your cast iron pan slowly, starting with low heat and gradually increasing to high.
- Prep: Liberally salt all sides of your chuck roast.
- Sear: Once the pan is screaming hot, place the roast in the pan. Sear each side for about 2 minutes until you get a beautiful crust. Don't forget the edges!
- Cool: Turn off the heat and remove the pan from the burner. Let it cool for about 2 minutes.
- Add Liquid: Carefully add 3 cups of water to the pan.
- Cover: Cover the pan loosely with aluminum foil or a pizza pan.
- Bake: Place in the 350°F oven for approximately 3 hours. Check after 2 hours by testing if the meat is fork-tender.
- Rest: Once done, remove from the oven and let it rest for about 10 minutes before serving.
- Save: Save the au jus for future meals!
Nutrition Information
Yield 6 Serving Size 6 ozAmount Per Serving Calories 350Total Fat 20gSaturated Fat 8gTrans Fat 0gUnsaturated Fat 12gCholesterol 125mgSodium 600mgCarbohydrates 0gFiber 0gSugar 0gProtein 35g