
Carnivore Crumble Topping Mix: The Secret Weapon Your Dishes Are Missing
Ever tasted something so simple yet transformative that it makes you wonder how you lived without it? That’s exactly what happened when I first created this carnivore crumble topping mix in my kitchen. This browned butter milk solid creation has become my go-to recipe enhancer for everything from morning yogurt to evening desserts! 🧈🥩🍦
What makes this carnivore crumble so special? It’s the perfect combination of rich, nutty flavor and satisfying crunch, all while staying true to animal-based eating principles. Whether you’re fully carnivore, dabbling in keto, or just looking for a low-carb option to elevate your dishes, this crumble delivers incredible taste without the carb overload.
#carnivore #brownbutter #lowcarb #ketorecipes #dairybased #animalbasedeating #zerocarb #carnivoretopping #butterrecipes #proteinrich
- 1. Quick Stats
- 2. Equipment Needed
- 3. Ingredients
- 4. Step-by-Step Instructions
- 5. Serving & Presentation Ideas
- 6. How to Store Your Carnivore Gold
- 7. Why This Recipe Works: The Science & Benefits
- 8. Common Mistakes to Avoid
- 9. Alternatives & Substitutions
- 10. Frequently Asked Questions
- 11. Final Thoughts
- 12. Next Recipes To Try

Quick Stats
Prep time: 5 minutes
Cook time: 45 minutes
Total time: 50 minutes
Servings: Makes approximately 1.5 cups
Calories: 140 per tablespoon
Macros: Fat: 11g | Protein: 3g | Carbs: 2g
Difficulty: Easy (just requires patience!)
Equipment Needed
To make these magical carnivore crumbles, you’ll need:
- Heavy-bottomed saucepan (this is crucial – a thin pan will burn your butter!)
- Wooden spoon or heat-resistant spatula
- Fine mesh strainer (optional, but helpful)
- Airtight container for storage
Don’t have a heavy saucepan? A Dutch oven works wonderfully too. The key is even heat distribution to get that perfect browning without burning. Trust me, I learned this the hard way after scorching my first batch in a flimsy pan from my student days! 🔥
Ingredients
The Basics
- 227g (2 standard 4oz sticks) unsalted butter
- 180g (1⅓ cups) non-fat milk powder
Optional Flavor Enhancements
- 20g (4 Tbsp) black cocoa powder (for chocolate version)
- 1 tsp
vanilla extract (for a sweeter profile) - Pinch of salt (enhances flavor complexity)
I personally recommend using grass-fed butter if you can get your hands on it. The flavor is richer, and you’ll get more beneficial nutrients. Having coached clients on nutrition for decades, I’ve seen how these small quality upgrades can make a noticeable difference in both taste and health benefits. 🧈
Step-by-Step Instructions
1. Prepare Your Workspace
- Gather all ingredients and equipment. Having everything ready makes the process smoother, especially since you’ll need to keep an eye on the butter as it browns.
- Measure ingredients precisely. While I’m usually a “pinch of this, dash of that” kind of cook, this recipe benefits from accuracy, particularly with the milk powder-to-butter ratio.
2. The Melting Process
- Place your saucepan over low heat – and I mean LOW. Patience is truly a virtue here.
- Add the butter to the pan and allow it to melt completely. Don’t rush this by turning up the heat!
- Watch as the butter melts and begins to separate. You’ll notice the milk solids starting to sink to the bottom while the clear butterfat rises to the top.
3. Creating the Magic
- Once butter is completely melted, add the milk powder all at once.
- Let the butter absorb into the powder for about 30 seconds before stirring. This prevents clumping and helps achieve that perfect texture.
- Stir gently but thoroughly until the mixture looks clumpy and somewhat uniform. Don’t worry – the clumpiness is exactly what we want!
- If making chocolate crumbles, add the cocoa powder now and incorporate it evenly.
4. The Browning Stage
- Continue cooking on low heat for approximately 45 minutes. This is where the transformation happens!
- Stir occasionally (every 5-7 minutes) to prevent burning and ensure even browning.
- Watch for color changes – the mixture will gradually darken from pale yellow to a gorgeous golden brown, then to a deep brown.
- Use your nose as a guide – when it smells intensely nutty and almost caramel-like, you’re getting close!
5. Finishing Touches
- Remove from heat when the solids have turned a rich, dark brown color. They should look like tiny brown pebbles or crumbles in the melted butter.
- Optional: Strain the mixture through a fine mesh strainer if you prefer only the solid crumbles without excess butter.
- Allow to cool slightly – the crumbles will firm up as they cool.
- Transfer to an airtight container for storage.
Batch Cooking Tips
Want to make a larger batch? This recipe doubles beautifully, but you’ll need to extend the cooking time by about 15-20 minutes. I often make a triple batch on Sunday afternoons while catching up on podcasts – it’s my form of relaxing meal prep!
Just be sure to use a larger pan when scaling up, as you need adequate surface area for proper browning. A 5-quart Dutch oven works perfectly for a double or triple batch.
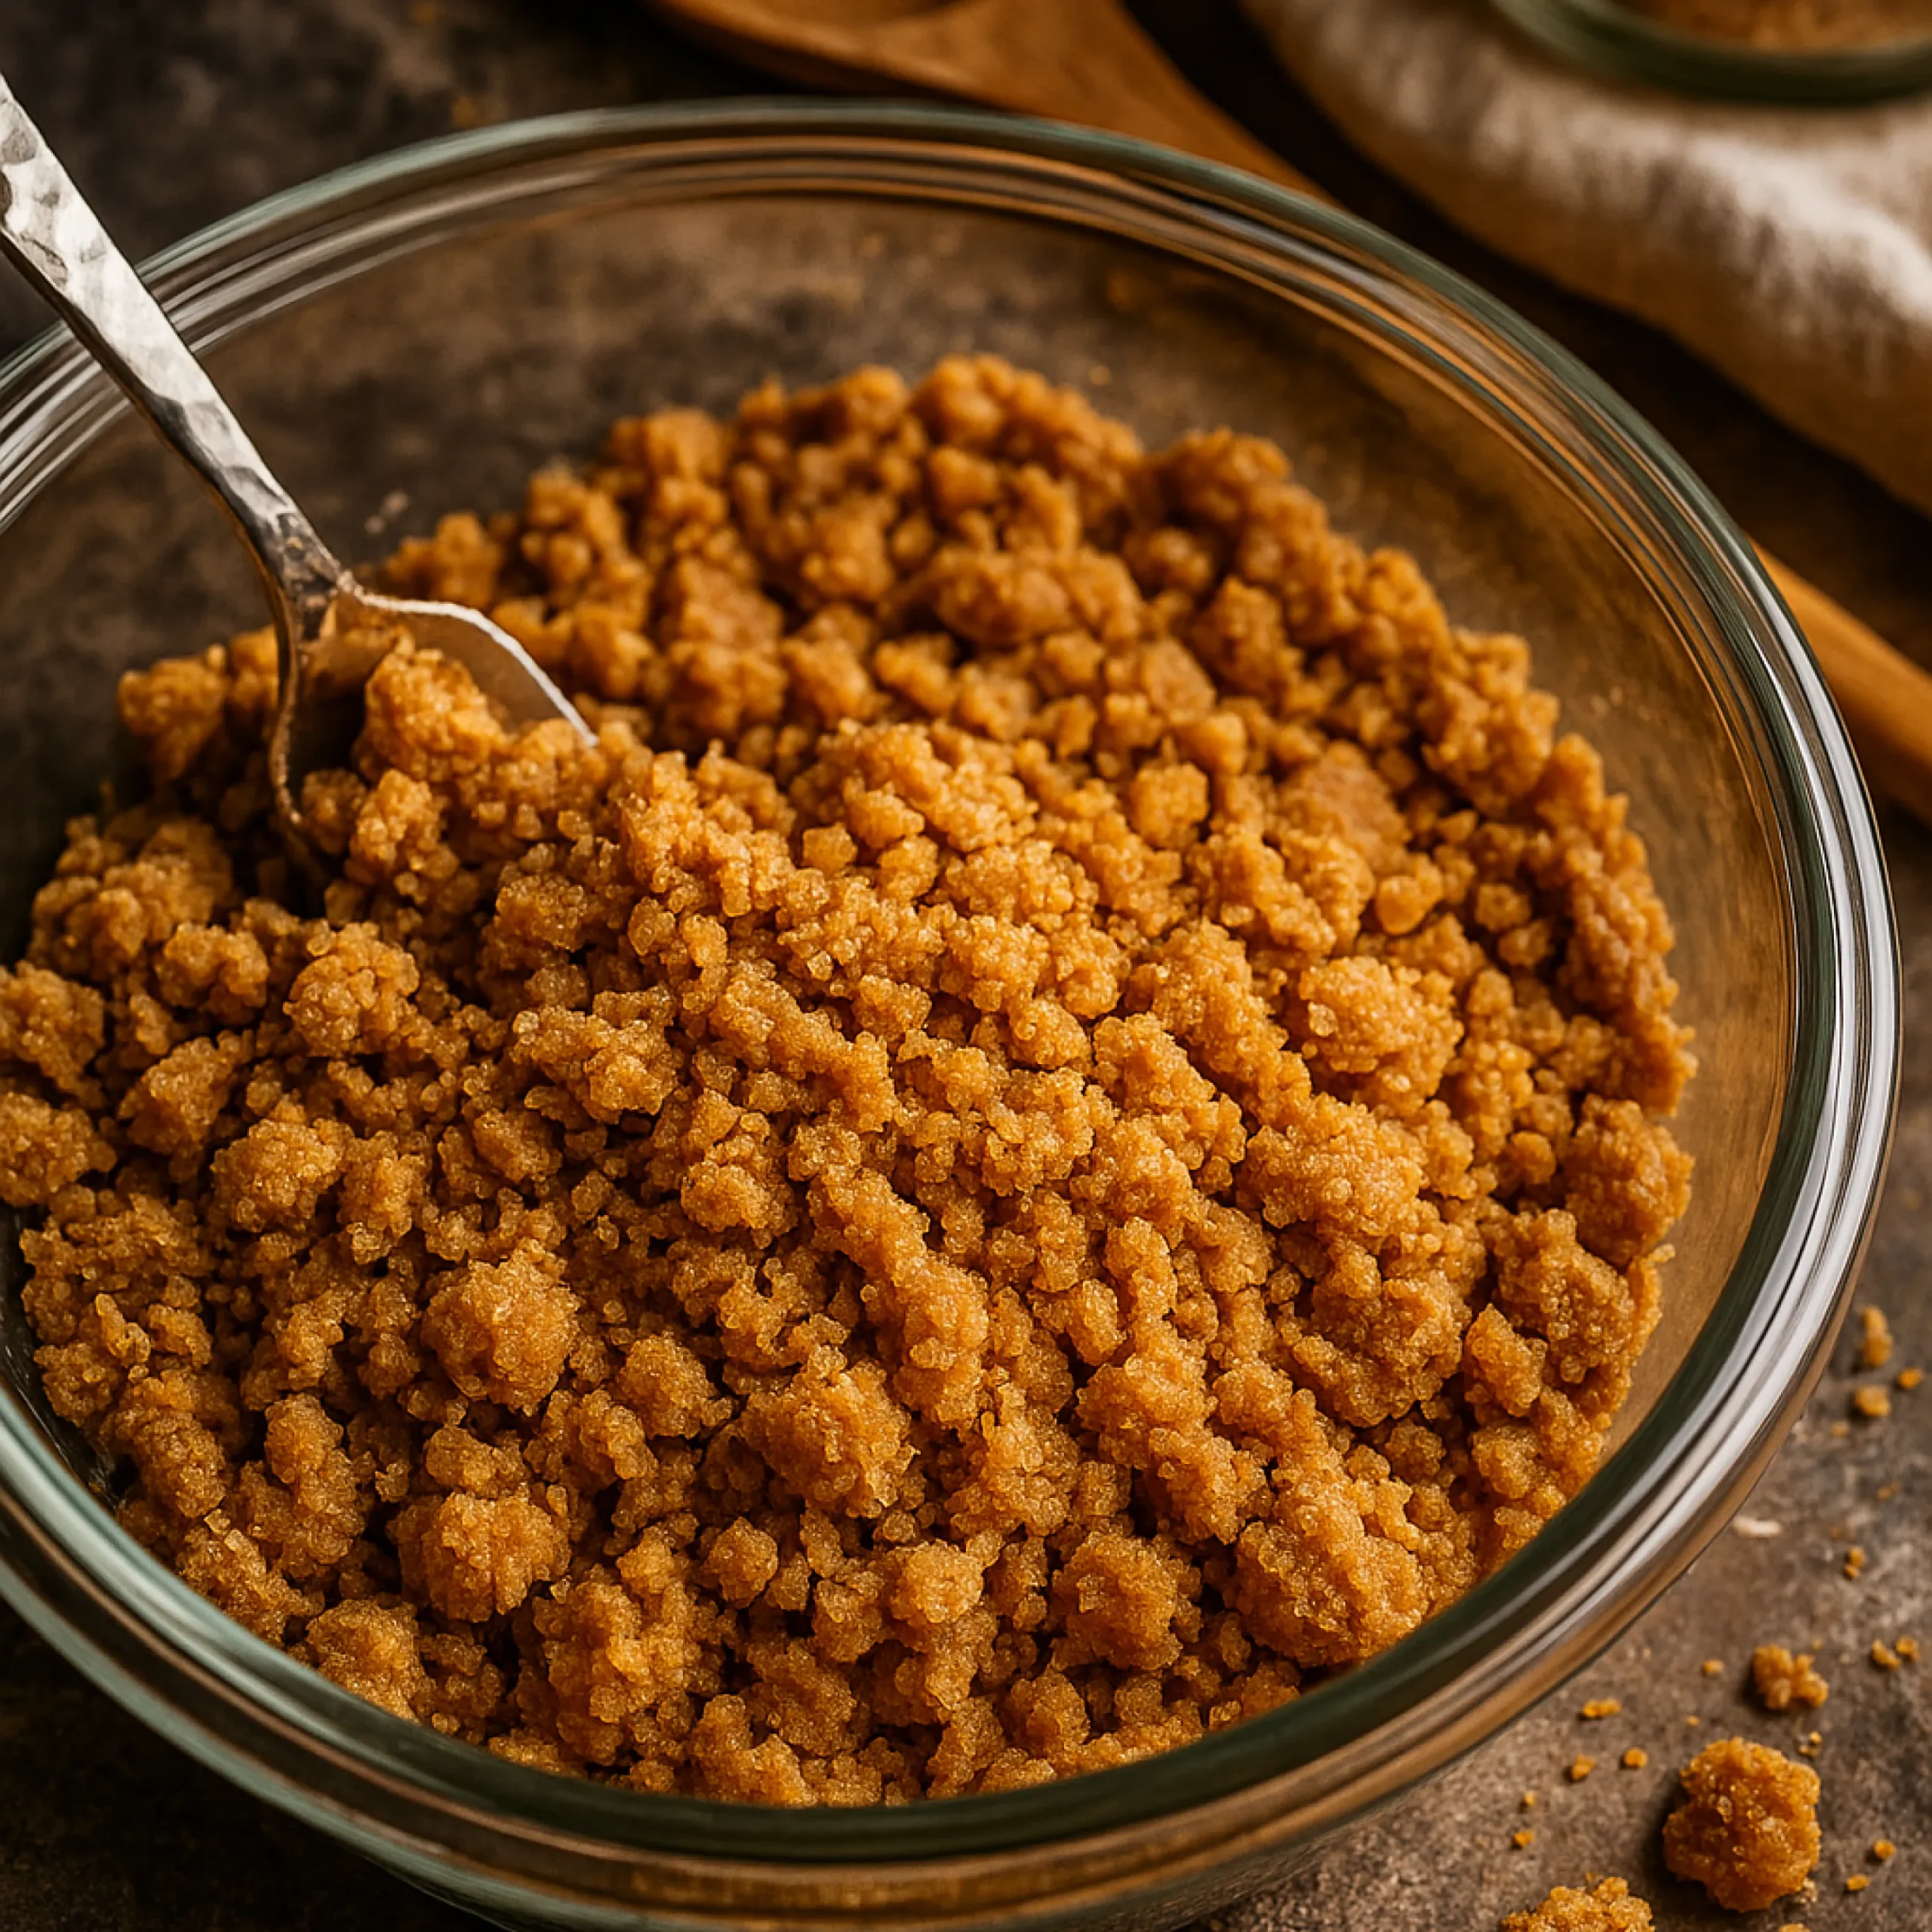
Serving & Presentation Ideas
Once you’ve made your carnivore crumbles, the possibilities are truly endless! Here are some of my favorite ways to use this versatile topping:
Breakfast Brilliance
- Sprinkle over Carnivore Cottage Cheese Pancakes for added texture
- Mix into scrambled eggs for a flavor boost
- Top your morning yogurt with a tablespoon for crunch
Dessert Delights
- Use as a streusel-like topping on Carnivore Cheesecake
- Fold into Carnivore Ice Cream for a “cookies and cream” effect
- Sprinkle over Carnivore Custard for texture contrast
Creative Presentations
For dinner parties (yes, even carnivore dishes can be party-worthy!), try these plating ideas:
- Create a “dessert board” with various carnivore treats and a bowl of crumbles for sprinkling
- Layer crumbles with whipped cream in clear glasses for a parfait-style dessert
- Use as a garnish around the edge of plates for an elegant finishing touch
The chocolate version works exceptionally well with Carnivore Cheesecake Bites – the contrast of creamy cheesecake with crunchy chocolate crumbles is absolutely divine! 🍰
How to Store Your Carnivore Gold
These crumbles are like culinary gold, and proper storage ensures they maintain their delightful texture and flavor.
Container Recommendations
An airtight glass container works best for preserving freshness. I use small Mason jars with tight-fitting lids, which keep out moisture and maintain that perfect crunch.
Shelf Life
- Room temperature: 1-2 weeks in a cool, dry place
- Refrigerator: Up to 1 month
- Freezer: 3-6 months (though they rarely last that long in my house!)
On-the-Go Options
These crumbles make a fantastic portable snack! Pack a small container in your bag for an emergency hunger fix that’s carnivore-friendly. I always keep some in my desk drawer at work for those moments when everyone else is reaching for sugary snacks.
Reheating (If Necessary)
If your crumbles lose their crunch over time, simply spread them on a baking sheet and warm in a 300°F (150°C) oven for about 5 minutes. They’ll crisp right back up!
Why This Recipe Works: The Science & Benefits
As someone who’s spent over three decades in the health and fitness industry, I’m always looking at both the taste AND the nutritional profile of what I eat. These carnivore crumbles tick all the boxes:
Nutritional Powerhouse
- Healthy Fats: Butter is rich in fat-soluble vitamins A, E, and K2, especially if you use grass-fed
- Protein Boost: The milk powder adds a decent protein kick without carb overload
- Zero Plant Antinutrients: No lectins, oxalates, or other potentially problematic plant compounds
Texture Revolution
One of the biggest challenges on a carnivore diet is finding foods with satisfying texture variety. These crumbles provide that much-desired CRUNCH factor that many carnivore dieters miss.
Flavor Development
The magic happens during the browning process. When milk solids are heated, they undergo Maillard reactions (the same process that makes a steak delicious when seared), creating hundreds of new flavor compounds.
Carnivore Diet Benefits
These crumbles support the broader benefits of carnivore eating:
- Simplified Digestion: Animal-based ingredients are typically easier to digest than plant foods
- Stable Energy: The high fat content provides sustained energy without blood sugar spikes
- Appetite Regulation: Fat and protein are incredibly satiating, helping manage hunger naturally
Having guided countless clients through various dietary approaches, I’ve observed that simple, versatile recipes like this one are often the key to sticking with a way of eating long-term. When you have delicious options like these crumbles, you never feel deprived! 🥩
Common Mistakes to Avoid
Even the simplest recipes have their pitfalls! Here are the mistakes I’ve made (so you don’t have to):
Temperature Troubles
- Heat too high: Results in burned butter rather than browned butter. The difference is enormous! 🔥
- Heat too low: While patience is important, if your heat is too low, you’ll be standing at the stove until the next ice age. Look for tiny bubbles around the edges as a sign you’re at the right temperature.
Stirring Snafus
- Stirring too frequently: Constant stirring prevents proper browning. Stir just enough to prevent burning.
- Not stirring enough: The opposite problem leads to uneven browning and burnt spots.
Timing Troubles
- Removing from heat too soon: Pale crumbles lack the deep, nutty flavor that makes this recipe special.
- Cooking too long: Once they go from dark brown to black, they’re burnt and will taste bitter. Trust your nose – when it smells like heavenly brown butter, you’re there!
Storage Slip-ups
- Using a plastic container: Can absorb odors and affect flavor. Glass is best.
- Not sealing properly: Results in soggy crumbles that lose their crunch.
Remember, cooking is a journey! My first batch of crumbles ended up more like “charcoal bits” than delicious toppings. Now I can make them with my eyes closed (though I don’t recommend this approach). 😉
Alternatives & Substitutions
While I believe the original recipe is perfect as is, there’s always room for personalization:
Butter Options
- Clarified butter/ghee: Creates a slightly different texture but works well
- Cultured butter: Adds a tangy dimension to the flavor profile
- Salted butter: Can be used, but reduce or eliminate the additional salt
Milk Powder Variations
- Whole milk powder: Creates a richer, fattier end product
- Goat milk powder: Offers a more distinctive flavor
- A2 milk powder: Excellent for those sensitive to conventional dairy
Budget Considerations
Quality ingredients make a difference, but this recipe can be adapted for any budget:
- Store-brand butter works perfectly well
- Buy milk powder in bulk to save significantly
- Make larger batches less frequently to maximize your time investment
Health-Specific Adjustments
- Dairy sensitivity: This recipe relies heavily on dairy, but the extended cooking process breaks down some of the proteins that cause issues for some people
- Higher protein needs: Add collagen powder (1-2 Tbsp) along with the milk powder
- Zero carb approach: Use a higher fat cream powder instead of milk powder (slightly harder to find but available online)
In my years of experimentation, I’ve found that adding a pinch of salt to the chocolate version creates an almost salted-caramel effect that’s absolutely divine! 🧂🍫
Frequently Asked Questions
After sharing this recipe with friends, family, and clients, here are the questions that come up most often:
Q: Can I use ghee instead of butter?
A: Yes, but the result will be slightly different. Ghee already has the milk solids removed, so you’ll end up with a different texture. If using ghee, increase the milk powder slightly (by about 2 Tbsp).
Q: My crumbles taste burnt. What went wrong?
A: The most likely culprit is heat that was too high. Brown butter has a fine line between perfectly nutty and burnt. Next time, keep the heat lower and watch more carefully as the color develops.
Q: How do I know when they’re done?
A: The milk solids should be a deep brown color (think coffee grounds) and smell intensely nutty and almost caramel-like. If you’re unsure, it’s better to err on the side of lighter rather than darker.
Q: Can I add sweetener to make this more dessert-like?
A: While not strictly carnivore, a small amount of monk fruit sweetener or allulose can be added if you’re following a more flexible approach. Add it at the same time as the milk powder.
Q: My crumbles clumped together after storage. How can I fix this?
A: Simply break them apart with a fork before using, or give the container a good shake. If they’ve really fused together, briefly place them in a food processor or blender for a pulse or two.
This website may contain affiliate links, which means that if you click on one of the product links, the website may receive a small commission at no extra charge to you!
Final Thoughts
After three decades in the health and fitness world, I’ve seen countless diet trends come and go. What stands the test of time are simple, versatile recipes that make healthy eating enjoyable rather than a chore. These carnivore crumbles are exactly that kind of recipe.
What started as an accidental creation in my kitchen has become a staple in my carnivore cooking arsenal. The beauty of this recipe lies in its simplicity and versatility – just two main ingredients transform into something magical that can elevate everything from morning coffee to evening desserts.
If you’re on a carnivore journey or just exploring low-carb options, don’t underestimate the power of texture and flavor variety. These crumbles might seem simple, but they can be the difference between sticking with your eating plan or feeling deprived and giving up. 🧈🥩
Remember, health is truly wealth – and simple pleasures like these crumbles make the journey all the more enjoyable!
Next Recipes To Try
Once you’ve mastered these carnivore crumbles, enhance your animal-based cooking repertoire with these complementary recipes:
- Carnivore Cheesecake – The perfect canvas for your crumble topping
- Carnivore Ice Cream – Mix in the crumbles for an incredible texture contrast
- Carnivore Brownies – Try the chocolate crumble version as a topping
- Carnivore Fresh Cream Layer Cake – Use crumbles between layers for added dimension
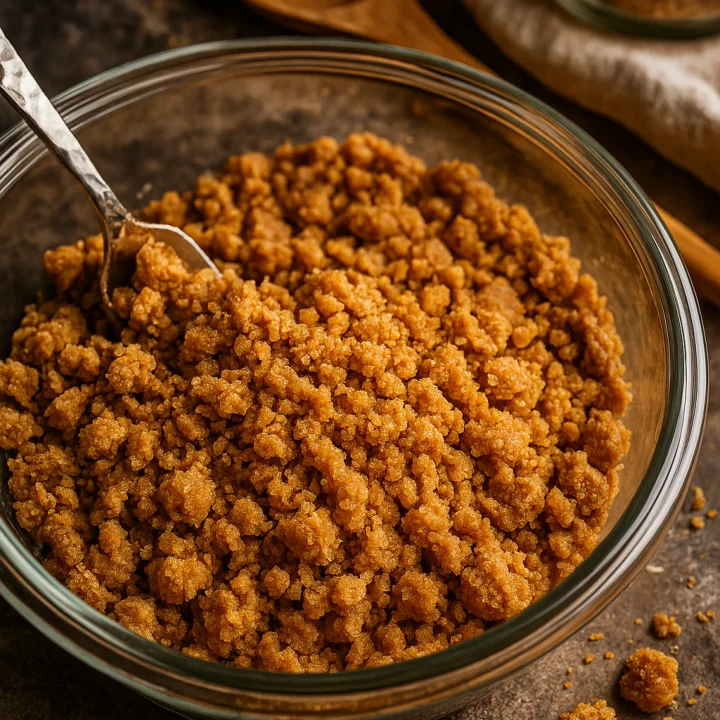
carnivore crumble topping
A versatile, crunchy topping made from browned butter milk solids that adds texture and rich flavor to carnivore and low-carb dishes. Perfect for desserts, breakfast dishes, or as a standalone snack.
Ingredients
- 227g (2 standard 4oz sticks) unsalted butter
- 180g (1⅓ cups) non-fat milk powder
- 20g (4 Tbsp) black cocoa powder (optional, for chocolate version)
- 1 tsp vanilla extract (optional)
- Pinch of salt (optional)
Instructions
- Melt butter: Place butter in a heavy-bottomed saucepan over low heat and allow to melt completely.
- Add milk powder: Once butter is melted, add the milk powder and let it absorb for 30 seconds before stirring gently.
- Cook slowly: Continue cooking on low heat for approximately 45 minutes, stirring occasionally to prevent burning.
- Monitor browning: Watch as the mixture gradually darkens from pale yellow to golden brown to a rich dark brown.
- Check doneness: The mixture is ready when the milk solids are a deep brown color and smell intensely nutty.
- Cool and store: Remove from heat, allow to cool slightly, and transfer to an airtight container.
Notes
For chocolate version, add 20g (4 Tbsp) black cocoa powder along with the milk powder. The browning process takes patience - don't increase the heat to speed things up as this will result in burnt butter rather than browned butter.
Nutrition Information
Yield 24 Serving Size 1 tablespoonAmount Per Serving Calories 140Total Fat 11gSaturated Fat 7gTrans Fat 0gUnsaturated Fat 4gCholesterol 30mgSodium 10mgCarbohydrates 2gNet Carbohydrates 2gFiber 0gSugar 2gProtein 3g