
Keto Cheesecake: A Decadent Low-Carb Dream That’ll Blow Your Mind 🍰
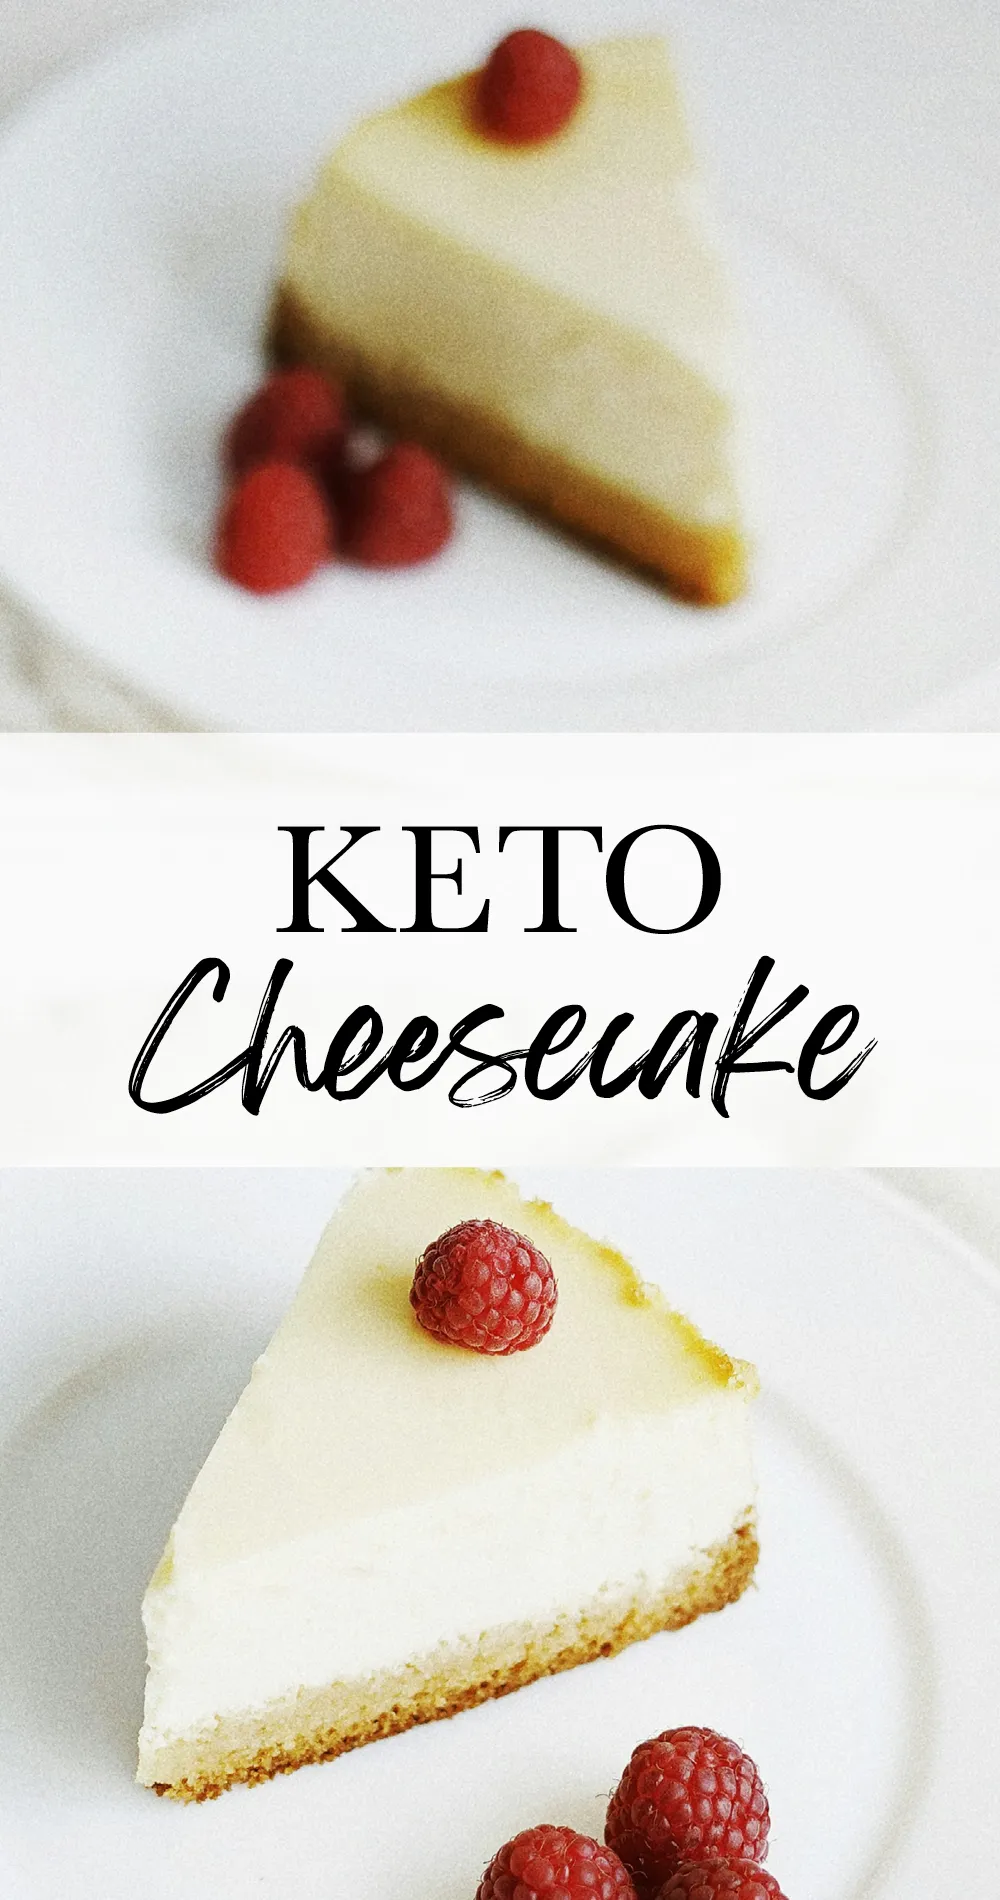
Ever craved that silky, rich bite of cheesecake but didn’t want to torpedo your keto journey? Yeah, me too. Let me tell you, this keto cheesecake recipe has absolutely changed my dessert game. It’s creamy, indulgent, and so satisfyingly rich that your non-keto friends will be eyeing your plate with envy. The shortbread cookie crust adds that perfect textural contrast we all secretly crave in a low-carb cheesecake, while keeping those carbs impressively low.
I’ve been experimenting with sugar-free cheesecake recipes for years (with plenty of epic fails along the way, trust me), but this version hits all the right notes. The best part? It tastes like the real deal without the carb overload that would normally knock you out of ketosis faster than you can say “cheesecake.” 🧀🍰
#ketodessert #lowcarbcheesecake #ketosweets #sugarfreedessert #ketobaking #creamcheeseketo #almondflourbaking #ketogenic #sugarsubstitute #ketorecipe
This recipe is suitable for: keto, low-carb, sugar-free, gluten-free, grain-free diets
- 1. Quick Stats That'll Make You Smile
- 2. Kitchen Gear You'll Need
- 3. Ingredient Lineup
- 4. Let's Make This Magic Happen
- 5. Serve It Up With Style
- 6. Keep The Deliciousness Going
- 7. Why This Recipe Is A Game-Changer
- 8. Pitfalls To Dodge 🚫
- 9. Mix It Up: Variations & Substitutions
- 10. FAQ: All Your Burning Questions Answered
- 11. Wrapping It Up
- 12. More Keto Delights To Try Next
Quick Stats That’ll Make You Smile
- Prep Time: 25 minutes (worth every second)
- Cook Time: 50 minutes (15 for crust + 35 for cheesecake)
- Chilling Time: At least 5 hours (patience is a virtue!)
- Total Time: 6+ hours (mostly hands-off)
- Servings: 12 slices (or 8 if you’re feeling generous to yourself)
- Calories: 325 per slice
- Macros: 31g fat | 4g net carbs | 8g protein
- Difficulty: Intermediate (but I’ll hold your hand through it)
Kitchen Gear You’ll Need
Listen, you don’t need a professional kitchen for this, but a few key tools will make your life easier:
- 9-inch springform pan (absolutely essential—don’t even think about substituting)
- Food scale (for precision—baking is science, my friend)
- Hand mixer (your arm will thank you)
- Large mixing bowls (two is perfect)
- Silicone spatula (for scraping every last bit of goodness)
- Icing spatula (optional but helpful for that smooth top)
- Measuring cups and spoons (accuracy matters)
- Aluminum foil (trust me on this one)
Don’t have a springform pan? Honestly, you might want to pause and order one. I’ve tried makeshift alternatives, and let’s just say the results were… memorable, but not in a good way.
Ingredient Lineup
For That Killer Crust:
- 1¼ cups blanched almond flour (140g) 🥄
- ¼ cup confectioner’s Swerve (40g)
- Pinch of salt (don’t skip this!)
- ¼ cup unsalted butter, melted (56g) 🧈
- 1 large egg, room temperature 🥚
- 1 teaspoon
vanilla extract
For The Heavenly Filling:
- 3 blocks (24 oz/681g) full-fat cream cheese, room temperature 🧀
- Just under 1 cup confectioner’s Swerve (125g)
- Juice from ¼ lemon 🍋
- 1 teaspoon
vanilla extract - 2 large eggs, room temperature 🥚
Let’s Make This Magic Happen
Prep Work (Don’t Skip This!)
- Get organized. Take those eggs and cream cheese blocks out of the fridge at least 30 minutes before starting. Cold ingredients = lumpy cheesecake, and nobody wants that drama.
- Preheat your oven to 300°F (150°C). I know it seems low, but we’re playing the long game here for texture perfection.
- Measure everything out. Trust me, you’ll thank yourself later when you’re not frantically searching for ingredients with cream cheese-covered hands.
Creating That Shortbread Crust
- Mix the dry ingredients. In a large bowl, whisk together the almond flour, confectioner’s Swerve, and salt until well combined. No clumps allowed!
- Add the wet ingredients. Pour in that melted butter, crack in your egg, and add the
vanilla extract. - Mix until combined. Use a spatula to fold everything together until a thick, somewhat sticky dough forms. It won’t look exactly like traditional shortbread dough, but that’s completely fine.
- Prep your pan. Coat your 9-inch springform pan with a generous amount of baking spray. Been there, done that with the stuck crust—not fun trying to chisel it out.
- Press the dough. Transfer your crust mixture to the prepared pan and use your fingers or the back of a spoon to press it evenly across the bottom. Don’t worry about bringing it up the sides unless you’re feeling ambitious.
- Bake the crust. Pop it in the oven for about 15 minutes until it’s just barely starting to turn golden at the edges. We’re par-baking here, so don’t worry if it seems a little soft.
Whipping Up The Dreamy Filling
- Beat the cream cheese. While the crust is baking, add your room temperature cream cheese blocks to a large bowl and beat with a hand mixer until completely smooth. Any lumps now will be lumps in your final cheesecake—you’ve been warned!
- Add the sweetener. Gradually add the confectioner’s Swerve while continuing to beat. Stop and scrape down the sides of the bowl frequently—this step is crucial for a smooth mixture.
- Flavor boosters. Add the lemon juice and
vanilla extract, then beat until combined. That tiny bit of lemon juice doesn’t make it taste lemony—it just brightens the flavor profile. Chemistry, people! - Add eggs one at a time. This is non-negotiable! Add one egg, beat until completely incorporated, then add the second egg. Overbeating after adding eggs can cause your cheesecake to crack, so go easy once those eggs are in.
Assembly & Baking
- Crank up the heat. Turn your oven up to 350°F (175°C) after the crust comes out.
- Add the filling. Pour your smooth, creamy filling onto the par-baked crust. Use an icing spatula or the back of a spoon to spread it evenly.
- Bake to perfection. Place the cheesecake in the oven and bake for about 35 minutes. You’ll know it’s done when the outer 2-3 inches look set but the center still has a slight jiggle when you gently shake the pan. Don’t overbake or you’ll end up with a dry, cracked mess!
- Cool it down. Remove from the oven and let it cool completely at room temperature. This could take a couple of hours, so don’t rush it.
- Chill out. Once cooled to room temperature, cover the top with aluminum foil and refrigerate for at least 5 hours, but overnight is even better. Patience yields the creamiest results—I promise it’s worth the wait.
Serve It Up With Style
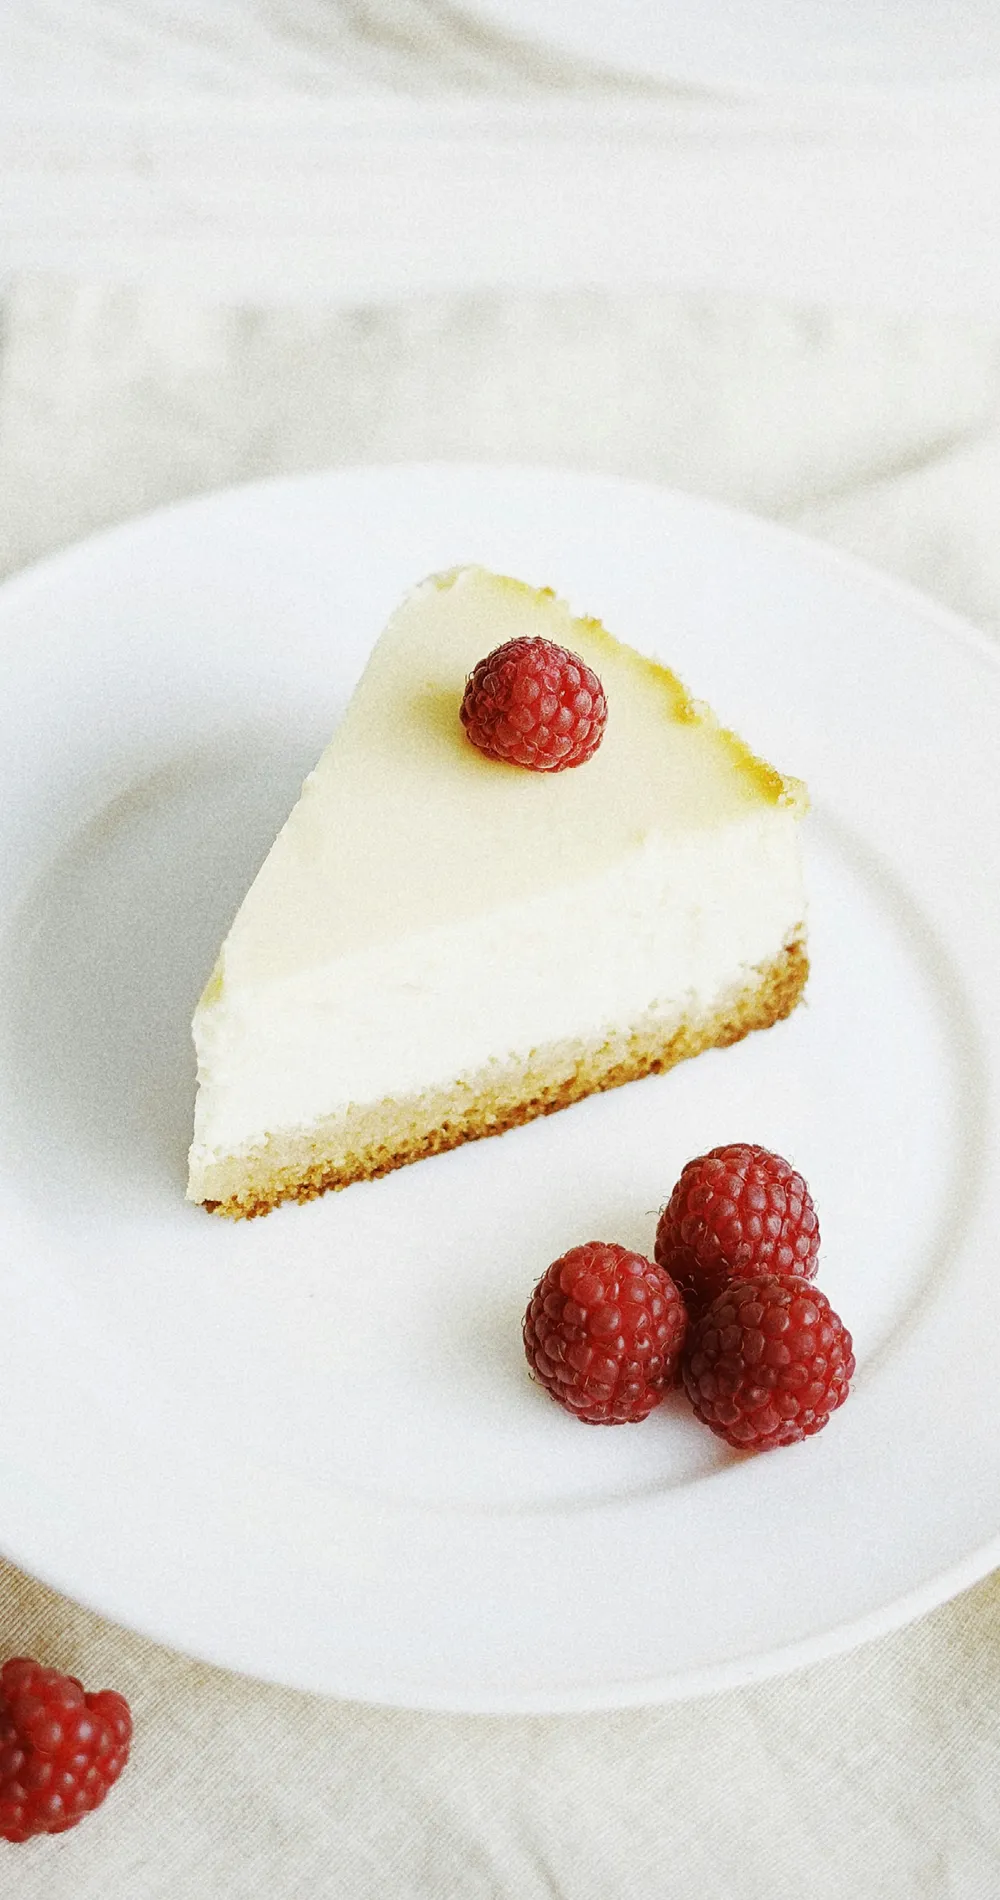
Ready to impress? Here’s how to take this keto-friendly cheesecake from great to show-stopping:
- Slice it right: Dip a sharp knife in hot water and wipe clean between each cut for those picture-perfect slices.
- Topping suggestions: A dollop of keto whipped cream, a sprinkle of crushed freeze-dried berries, or a drizzle of sugar-free chocolate sauce takes this from “yum” to “OH MY GOODNESS!”
- Plating like a pro: Serve on chilled plates for the ultimate restaurant experience at home.
This cheesecake is perfect for holidays, birthdays, or those moments when you need to prove to skeptics that keto desserts can be mind-blowingly delicious. I’ve served this at dinner parties without telling anyone it’s keto, and the compliments were flowing!
Try this alongside Keto Strawberry Cake for an impressive dessert spread, or after a main course of Keto Chicken and Dumplings for the ultimate comfort food meal.
Keep The Deliciousness Going
This cheesecake keeps beautifully in the fridge for up to 5 days (if it lasts that long). Store it in an airtight container or keep it in the springform pan with plastic wrap over the top.
For longer storage, you can freeze individual slices! Wrap each piece tightly in plastic wrap, then aluminum foil, and freeze for up to 2 months. Thaw overnight in the refrigerator when the craving strikes.
Pro tip: Slightly frozen cheesecake is actually amazing on a hot day—it’s like a premium ice cream bar!
Why This Recipe Is A Game-Changer
Let’s talk about why this keto cheesecake recipe absolutely rocks:
- It’s naturally low-carb: Even traditional cheesecake isn’t super high in carbs except for the crust and added sugar. By swapping those elements, we’ve created a dessert that fits perfectly into your keto macros.
- High fat content = keto friendly: With all that cream cheese and butter, this dessert actually helps you hit your fat macros while satisfying your sweet tooth.
- Steady energy: Unlike sugar-laden desserts that send your blood sugar on a rollercoaster, this keeps things steady and won’t trigger cravings.
- Zero sugar crash: You know that sleepy, foggy feeling after eating regular cheesecake? Yeah, that won’t happen with this version.
- It’s actually filling: The high fat content means a small slice is genuinely satisfying, helping you naturally control portions.
The keto lifestyle isn’t about deprivation—it’s about finding clever alternatives to your favorite foods, and this cheesecake proves you can have your cake and eat it too (while staying in ketosis)!
Pitfalls To Dodge 🚫
Even experienced bakers can hit some snags with cheesecake. Here’s how to avoid the most common mistakes:
- Cold ingredients: This is the #1 enemy of smooth cheesecake. Those ingredients NEED to be at room temperature—I cannot stress this enough!
- Overbaking: A slightly jiggly center is what you want. The residual heat will continue cooking it after you take it out of the oven.
- Opening the oven door: Resist the urge to peek! Sudden temperature changes cause cracks.
- Overmixing after adding eggs: This incorporates too much air, which can lead to cracks and a less creamy texture.
- Rushing the cooling process: This isn’t a race. Each cooling step (room temperature, then refrigeration) is crucial for the perfect texture.
I once tried to speed things up by putting a hot cheesecake in the fridge—the resulting condensation created a soggy crust that still haunts my dreams. Learn from my mistakes, friends.
Mix It Up: Variations & Substitutions
Want to customize this bad boy? Here are some tested options:
- Different crusts: Try crushed pecans instead of almond flour for a nuttier flavor profile.
- Flavor infusions: Add 2 tablespoons of unsweetened cocoa powder to the filling for a chocolate version.
- Sweetener swaps: Allulose or monk fruit sweetener work well in place of Swerve if that’s what you have on hand.
- Dairy adjustments: Looking to reduce dairy? Replace up to one block of cream cheese with full-fat coconut cream (the solid part from a refrigerated can).
- Budget-friendly option: Store brand cream cheese works just as well as Philadelphia, so save your dollars where you can.
- Portion control: Make mini cheesecakes in a muffin tin with liners for built-in portion control (reduce baking time to about 15-20 minutes).
This website may contain affiliate links, which means that if you click on one of the product links, the website may receive a small commission at no extra charge to you!
FAQ: All Your Burning Questions Answered
Q: Can I use granular sweetener instead of confectioner’s?
A: You could, but I wouldn’t recommend it. Granular sweeteners don’t dissolve as well, leaving you with a gritty texture. If that’s all you have, pulse it in a food processor first to make it finer.
Q: Why did my cheesecake crack?
A: Several possible reasons: overmixing, overbaking, sudden temperature changes, or not having ingredients at room temperature. Next time, try using a water bath for even gentler baking.
Q: Can I make this dairy-free?
A: Cheesecake without dairy is challenging but not impossible. Look for keto-friendly dairy-free cream cheese alternatives, but be prepared for a different texture and flavor.
Q: How can I tell when it’s done if I’m not sure about the jiggle test?
A: An instant-read thermometer inserted into the center should read about 150°F (65°C) when it’s ready to come out.
Q: Can I add berries to this?
A: Absolutely! Fold in 1/2 cup of fresh berries (raspberries and blackberries are lowest in carbs) into the batter just before baking, or serve with a few berries on top.
Wrapping It Up
I gotta say, this keto cheesecake has been my secret weapon for staying on track while still feeling like I’m indulging. There’s something magical about having a slice of this creamy, dreamy dessert in the fridge waiting for you after a long day. It’s rich enough that one piece truly satisfies, which is exactly what you want in a low-carb dessert option.
Remember, successful keto baking is all about technique and patience. This cheesecake might take a little time, but the results are so worth it. Whether you’re celebrating a special occasion or just treating yourself on a Tuesday (because why not?), this sugar-free cheesecake delivers all the decadence with none of the carb guilt. 🧀🍰
Next time someone tells you keto is all bacon and avocados, slide them a slice of this masterpiece and watch their eyes light up. Sometimes the best way to win an argument is with dessert!
More Keto Delights To Try Next
Ready to expand your keto dessert repertoire? These recipes pair beautifully with your new cheesecake skills:
- Keto Chocolate Cake – For serious chocolate lovers
- Keto Cream Cheese Frosting – Perfect for topping your cheesecake!
- Keto Brownies – When you need a chocolate fix
- Keto No-Bake Cheesecake – For hot summer days when you don’t want to turn on the oven

keto cheesecake
A rich, creamy keto cheesecake with a shortbread cookie crust that's completely low-carb and sugar-free. This decadent dessert will satisfy your cravings without kicking you out of ketosis.
Ingredients
- 1¼ cups blanched almond flour (140g)
- ¼ cup confectioner's Swerve (40g)
- Pinch of salt
- ¼ cup unsalted butter, melted (56g)
- 1 large egg, room temperature
- 1 teaspoon vanilla extract
- 3 blocks (24 oz/681g) full-fat cream cheese, room temperature
- Just under 1 cup confectioner's Swerve (125g)
- Juice from ¼ lemon
- 1 teaspoon vanilla extract
- 2 large eggs, room temperature
Instructions
- Prep ingredients: Bring cream cheese and eggs to room temperature. Preheat oven to 300°F.
- Make the crust: Mix almond flour, confectioner's Swerve, and salt in a bowl. Add melted butter, egg, and vanilla extract. Combine until a thick dough forms.
- Bake the crust: Press dough into a greased 9-inch springform pan. Bake for 15 minutes.
- Make the filling: Beat cream cheese until smooth. Add confectioner's Swerve and mix until combined. Add lemon juice and vanilla extract. Add eggs one at a time, mixing gently.
- Bake the cheesecake: Pour filling onto par-baked crust. Increase oven temperature to 350°F and bake for 35 minutes until outer ring is set but center still jiggles slightly.
- Cool and chill: Cool to room temperature, then cover with foil and refrigerate for at least 5 hours before serving.
Notes
For best results, ensure all ingredients are at room temperature before starting. The cheesecake can be stored in the refrigerator for up to 5 days or frozen for up to 2 months.
Nutrition Information
Yield 12 Serving Size 1 sliceAmount Per Serving Calories 325Total Fat 31gSaturated Fat 15gTrans Fat 0gUnsaturated Fat 13gCholesterol 120mgSodium 230mgCarbohydrates 5gNet Carbohydrates 4gFiber 1gSugar 2gProtein 8g